My Tutorials are strictly my own creations,
if they resemble another it is purely coincidence.
This was written with the use of PSP X5.
You may recreate it any version of PSP.
Supplies Needed.
Scrap Making Magic created by DnScraps .You can find it Here.
Font of choice
Mask_12 by HorsePlays Pastures Here
Animation Shop
Open new image 700 x 700 transparent background.
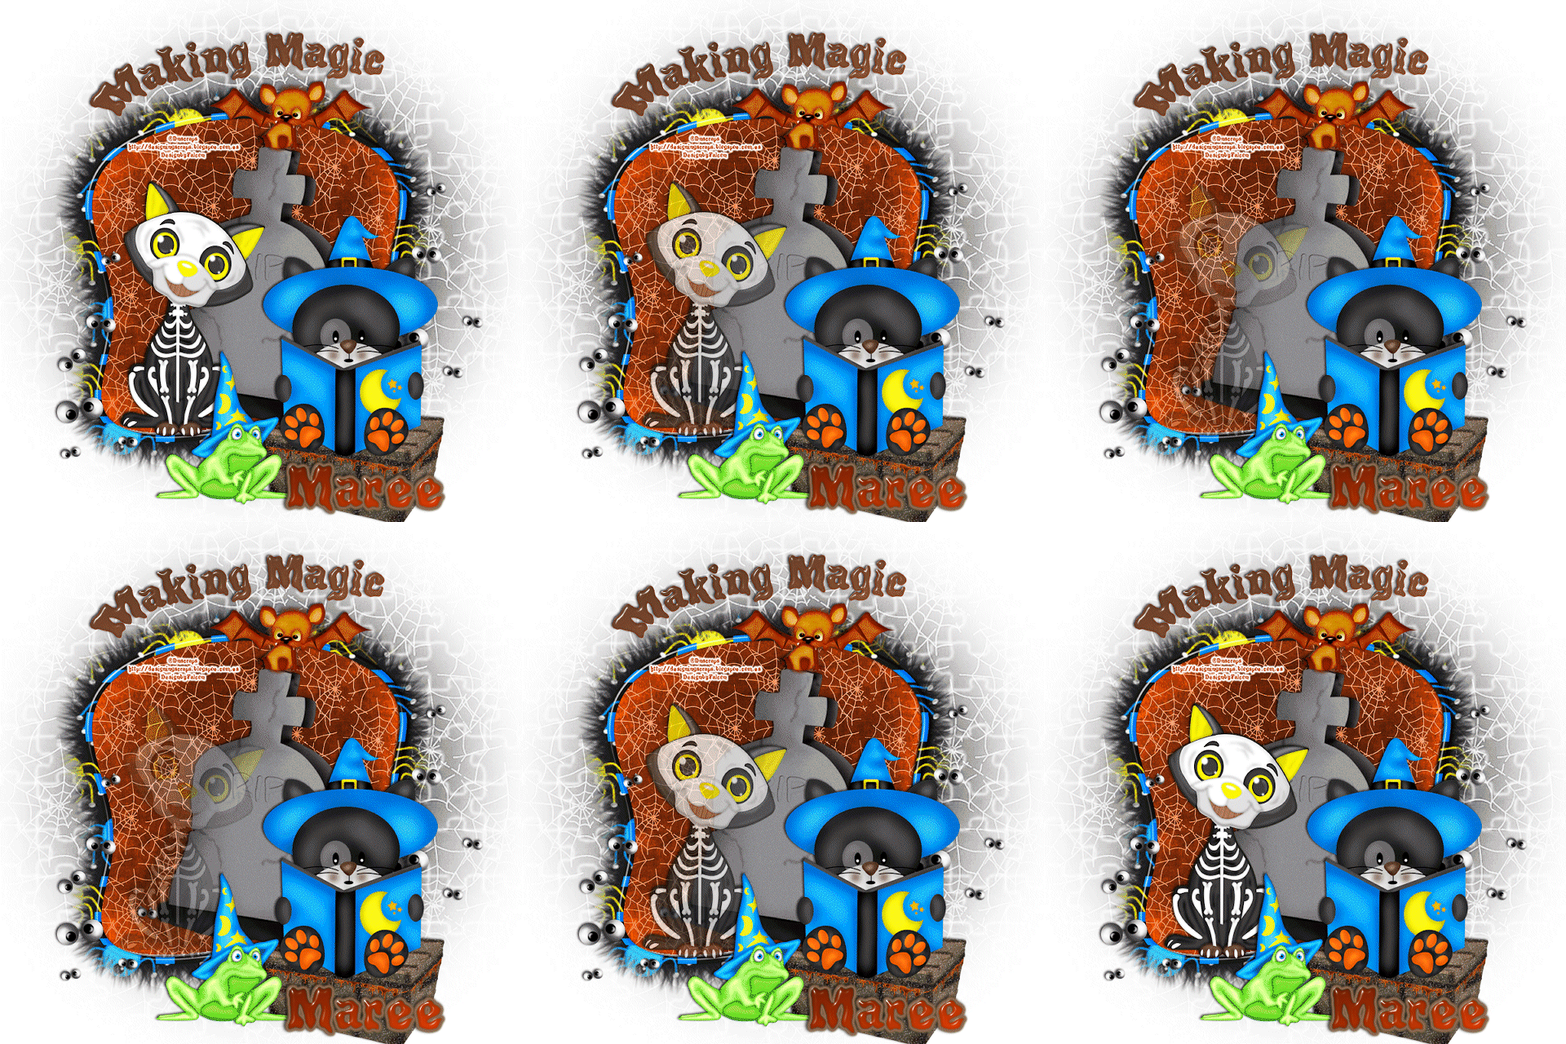
Open Mankingmagicdnscrapscutehalloweenframe copy paste as new layer. Resize 75 percent.
Click inside with Magic wand Selections Modify Expand by 5 add a new layer drag below frame layer.
Open Mankingmagicdnscrapspaper13 copy paste into selection on new layer, deselect.
Open Mankingmagicdnscrapscutetombstone copy paste as new layer resize 65 percent
arrange in frame slight to the right, add drop shadow.
Open Mankingmagicdnscrapscutebox copy paste as new layer resize 65 percent
drag to lower right corner.Add drop shadow.
Open Mankingmagicdnscrapsbookkitty copy paste as new layer resize 70 percent
arrange on box, add drop shadow.
Open Mankingmagicdnscrapscutebat copy paste as new layer resize 60 percent move
to top of frame, add drop shadow.
Open Mankingmagicdnscrapsfrog copy paste as new layer resize 45 percent Image Mirror
move to bottom center of frame, see tag. Add a drop shadow.
Open Mankingmagicdnscrapssqueletoncat4 copy paste as new layer resize 75 percent
move to bottom of frame.Add a drop shadow.
Duplicate this layer 3 times rename layers cat1- cat4.
Click on layer 2 lower the Opacity to 75.
Click on layer 3 lower the Opacity to 50.
Click on layer 4 lower the Opacity to 25.
Click on background layer Select all.
Open Mankingmagicdnscrapspaper12 copy paste into selection, deselect then apply mask,
Merge merge group.
Add your Artist © and your name .
Closeout cat layers 2-3-4.
Animation
Open AS then click back to Psp.
1. Click on background layer Edit Copy special Copy merged.
2. Click in AS paste as new animation.
3. Back in Psp closeout layer cat 1 open layer cat2 Edit copy special Copy Merged.
4. Click in AS Edit Paste after After current frame.
Repeat step 3 and 4 for the other 2 frames.
Edit Select All Edit Copy click on frame 4 Edit Paste after current frame.
Click on Animations ReverseFrames.Click back to the first frame then hold down
Alt+Enter and change the Frame Properties to 25 or higher if you prefer it slower.
When you are happy with this Save as a Gif.
Thank you for trying my tutorial, I hope you enjoyed it.
I'd love to se your results so that I can show them on my Blog.


